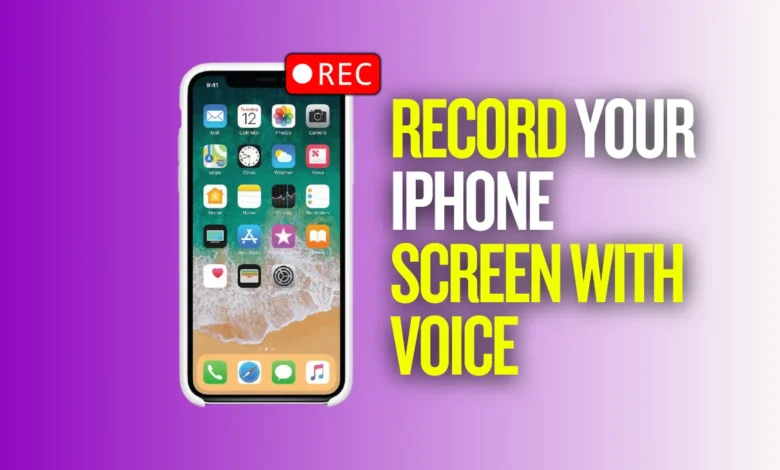
Many iPhone users want to record their screen. But some also want to add voice. If you also want to record your iPhone screen with voice, Apple gives a simple way. It takes just one tap to start. Let us see how this feature works easily.
Key Takeaways:
- The iPhone has a built-in screen recorder with microphone support.
- Third-party apps like Record It! and V Recorder offer advanced tools.
- Use Do Not Disturb, good mic, and quiet place for clear recordings.
Also Read: How to Find and Cancel iPhone, Mac or Android App Subscription
Use Control Center to Record Your iPhone Screen with Voice
Apple gives a built-in tool for screen recording. You can use it with your iPhone’s microphone. This lets you speak while recording the screen. You can explain what is happening clearly.
First, open the Control Center on your iPhone. On most models, swipe down from the top-right corner. On older models, swipe up from the bottom.
If you don’t see the screen recorder icon, enable it. Go to Settings > Control Center. Scroll down and tap the plus (+) beside Screen Recording.
Now go back to the Control Center. Look for a round icon with a dot inside. That is the screen recording button.
To record with voice, do not just tap it. Long-press the screen recording icon. A pop-up will appear. You will see a Microphone icon at the bottom.
Tap the Microphone icon once. It should show “Microphone On.” This means external voices will be recorded. Now tap Start Recording. A three-second countdown will begin.
Once the countdown finishes, the recording starts. You can now explain on the screen. Your voice and actions will be recorded together.
To stop recording, tap the red clock on top. You can also open the Control Center again. Then tap the recording icon to stop.
Once you stop, a message will appear. It tells you the video is saved in Photos app. You can view, edit, or share it from there.
This method is useful for many things. You can explain a new iPhone feature. You can show how to use an app. You can also record gameplay or tutorials.
But remember: FaceTime and other video calls may not record voice. Apple blocks microphone audio during such calls. So screen recording on calls may work without voice only.
Also Read: How to Clear iPhone System Data in 2025
Record Your iPhone Screen with Voice Using Apps
The iPhone’s built-in recorder is simple and good. But some people want more features. In such cases, third-party apps can help.
Here are two popular apps:
1. Record It! Screen Recorder
This app lets you record videos with voice. You can even record your face using the front camera. This is great for making reaction or tutorial videos.
You can upload a YouTube video in the app. Then speak and react to it while recording. It also has basic editing tools.
You can trim the video and change background color. You can also adjust the video size easily.
The app is free to use. But for some features, a premium version is available.
2. V Recorder
V Recorder is another useful screen recording app. It helps you record the screen and your face too.
One unique feature is the teleprompter tool. You can write a script before recording. The app will show it as you speak.
Other features include voice changer and auto subtitles. These can make your videos more fun. The app is free, but has paid options too.
Both apps are available on the App Store. You can try them if you want extra tools.
These apps are helpful if you make regular videos. Many YouTubers and online teachers use them. They also support better editing and sharing options.
However, for basic use, Apple’s screen recorder is enough. You can use it quickly without downloading anything.
Also Read: 3 Simple Hacks to Schedule Text Messages on the iPhone
More Tips to Record Your iPhone Screen with Voice
Here are more tips to make recording smooth:
1. Turn on “Do Not Disturb” Mode
Before recording, turn on Do Not Disturb mode. This avoids calls or messages during the video. Go to Settings > Focus > Do Not Disturb.
This keeps your recording clean. No pop-ups will appear on the screen.
2. Use a Good Microphone
If you want better voice quality, use a headset. You can also use Bluetooth earphones. These give better audio than the built-in mic.
Clear voice is important in tutorials. It helps others understand your message.
3. Record in a Quiet Place
Find a quiet place before recording. Turn off fans, TVs, or background noise. This makes your voice sound better.
4. Edit Your Video If Needed
After recording, open the Photos app. Tap Edit to trim or adjust the video. You can remove unwanted parts easily.
For advanced editing, use free apps like iMovie. You can add music, text, and more.
5. Share Your Video Easily
Once your video is ready, share it. You can upload it to YouTube, send on WhatsApp, or share by AirDrop.
Make sure to keep the video short and clear. People prefer quick and useful videos.
Other Ways to Record Your iPhone Screen with Voice
Sometimes, the built-in recorder may not meet all needs. If you want better quality, try using a Mac computer.
You can connect your iPhone to Mac using a cable. Open QuickTime Player on Mac. Click File > New Movie Recording.
Then select your iPhone as the camera. Press Record and start speaking. Your iPhone screen and voice will be recorded in high quality.
This method is great for YouTubers or professional use. You can also edit the video on Mac later.
But for daily tasks, the iPhone’s tool works fine. Most users find it quick and easy.
iPhone 15 Also Supports Screen Recording with Voice
Apple launched the iPhone 15 series in September. All models have the screen recording tool. You can record voice just like before.
The iPhone 15 comes with many upgrades. It has a 6.1-inch display and Dynamic Island notch. It is available in five colors: pink, yellow, green, blue, black.
The camera has improved a lot. It now has a 48-megapixel main sensor. This helps in low light and portrait photos.
The iPhone 15 runs on the A16 Bionic chip. It is faster and more power-efficient. Apple also added a USB Type-C port. This replaces the old lightning port.
Battery life is also better now. Apple claims it gives all-day battery life.
So if you use iPhone 15, you can record easily. The screen recording tool is built-in. Just turn on the microphone and start.
Wind Up
It is very easy to record your iPhone screen with voice. You don’t need extra tools for this task. Just use the built-in screen recorder in the Control Center.
Long-press it and enable the microphone. You can also try apps for more features. With these steps, your screen and voice will record together.
Published By: Roy
Publishing Date & Time: 26 September 2025, 05:10 PM IST

